OnTarget Programs
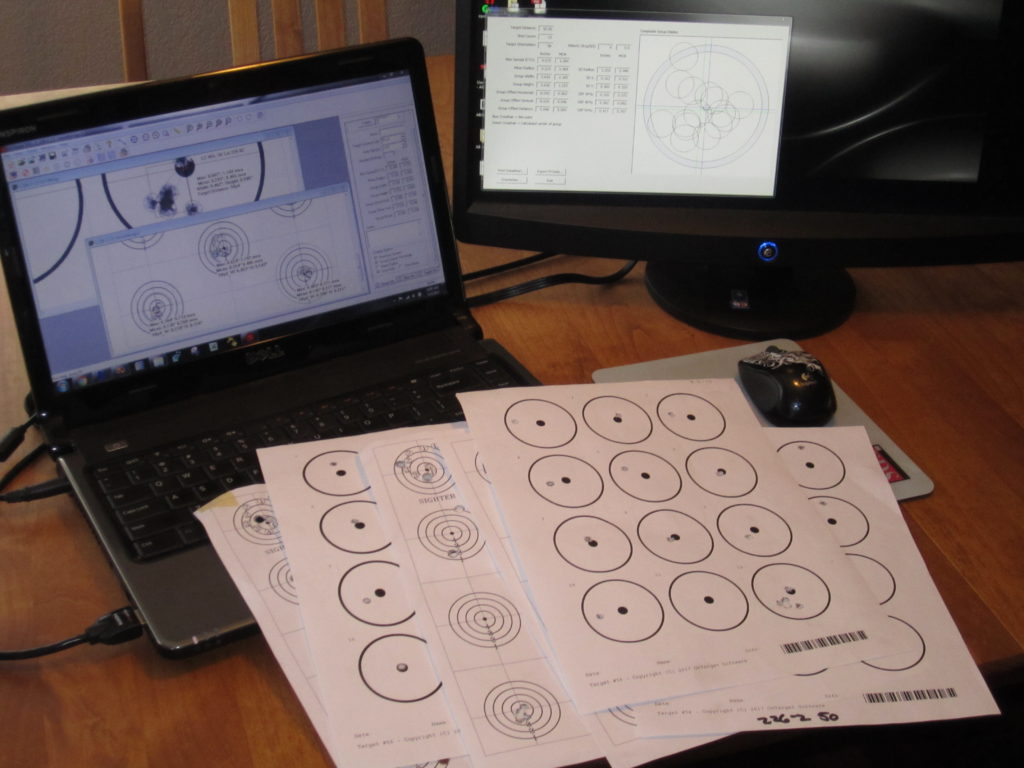
OnTarget programs are used by thousands of shooters worldwide to measure firearm precision and accuracy. By accurately measuring and analyzing the shot groups on your target, you generate valuable data to help make better decisions about your shooting setup and improve shooting performance.
The Precision Calculator program calculates basic group measurements including, center-to-center, group extents, and mean radius. TDS has additional features to automatically analyze targets, show shot level information, and provide more advanced statistical calculations.
OnTarget programs come with a fully functional 15 day free trial. Download OnTarget TDS or the OnTarget Precision Calculator to start generating the data you need to improve the performance of your firearms, loads, and complete shooting system.
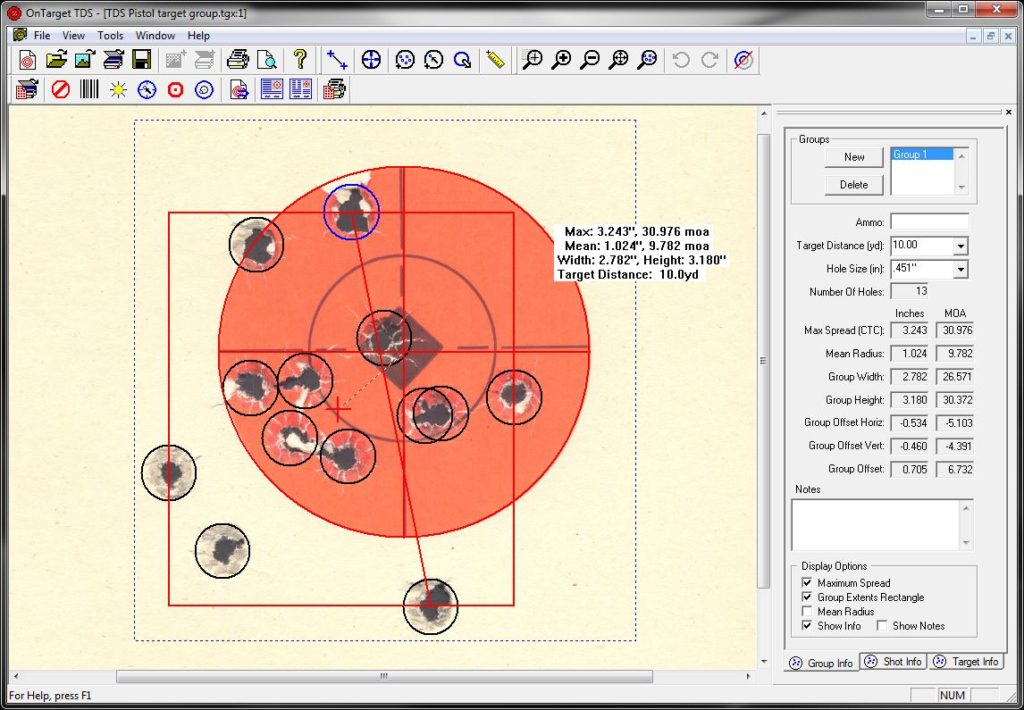

Precision Calculator
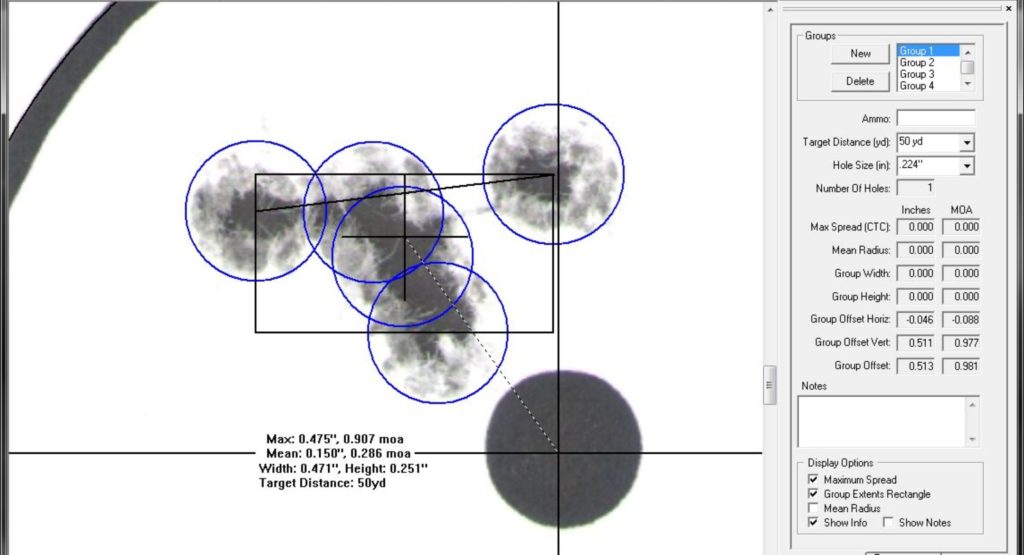
OnTarget Precision Calculator was the first system to use circles to locate holes on the target, making it easier to accurately mark the center of your shot. Import an image of your target from a scanner or camera, then position a circle over each bullet hole. Group information will be updated as each hole is added, giving a dynamic view of the group data. The Precision Calculator is easy to use and provides important information to improve your shooting performance.

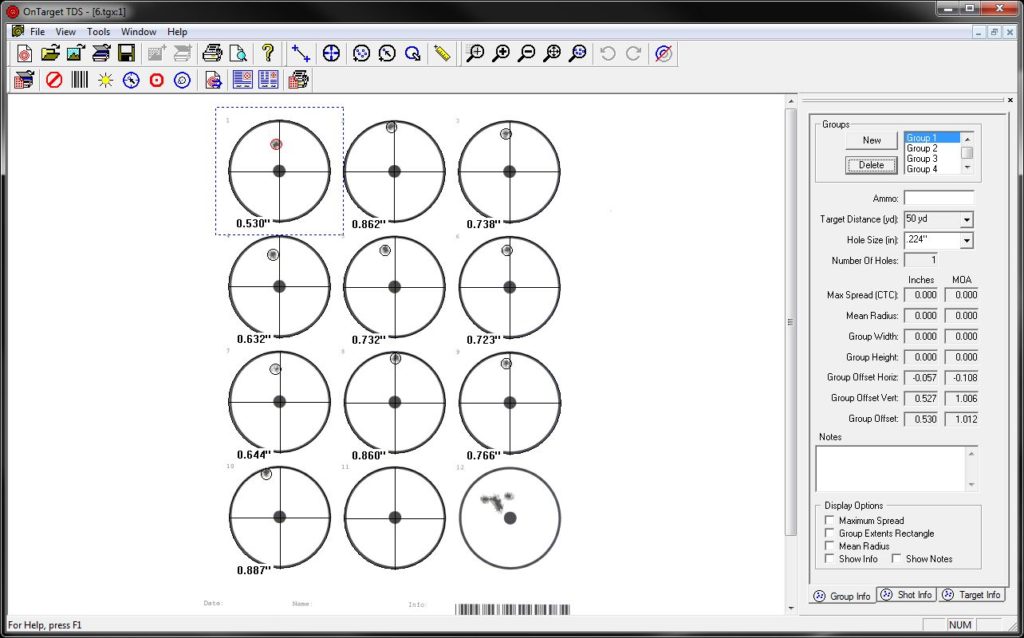
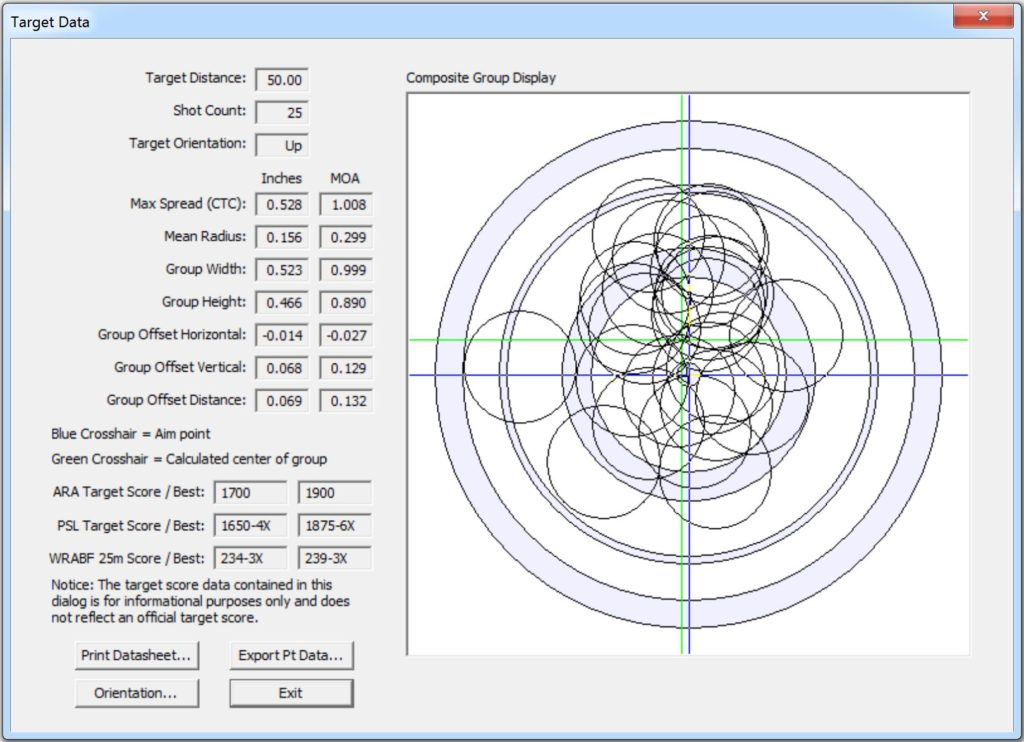
TDS
OnTarget TDS is the next step up in target analysis. Additional capabilities include, automatic aim point and hole detection, more group statistical calculations, expanded data import/export functionality, and adjustment values to improve accuracy. Large shot groups provide better data but are difficult to plot and analyze. TDS combines small groups to create larger virtual groups and generates the improved statistical data, improving your load and firearm testing.

Additional Information...
To learn more about the OnTarget programs, get details on available features, and see a comparison of the Precision Calculator and TDS programs, visit the Information page.